Nightstand Assembly Guide: Building a Solid-Wood Frame
Build a square nightstand frame in four sequential stages. Learn how to assemble legs, secure perimeter cleats, notch lower shelves, and mount solid tops.
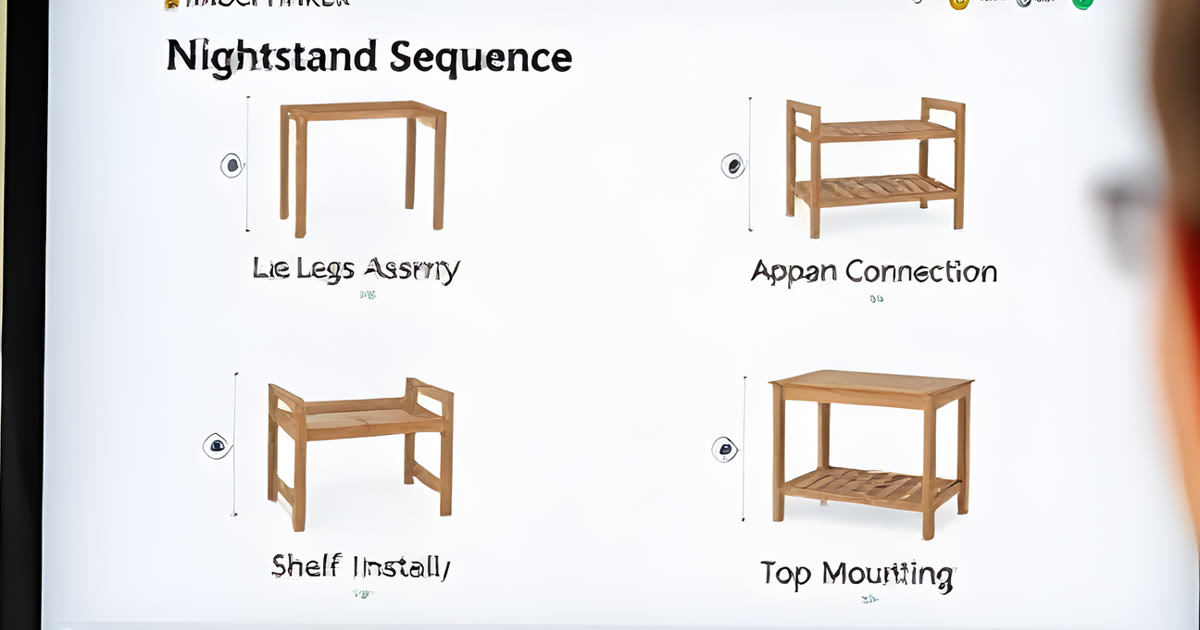
This nightstand assembly guide walks you through building a square bedside table from solid lumber on your workbench. For builders cutting their own parts, assembling in the correct sequence keeps open room for your drill and prevents misaligned joints. TimberTinker provides a 3D exploded view, an automated cut list, and a step-by-step assembly sequence so you can verify each joint before making cuts.
Driving pocket screws or securing shelf cleats becomes difficult if the top panel is installed too early. Assembling the two side frames first, connecting the front and rear aprons, securing perimeter shelf cleats, and fastening the edge-glued top last protects drill clearance while keeping your corners square.
Step by step
- Review the piece order and joint layout in your 3D cut list before assembly.
- Join two legs with a 12.5-inch side apron using pocket screws to create two separate side frames, then connect them with the two 17-inch front and rear aprons.
- Measure opposite diagonals across the frame corners to confirm the base is square while the apron glue is wet, adjusting clamp pressure until both dimensions match.
- Fasten four 3/4-inch shelf cleats around the inner perimeter of the legs and aprons at 11 inches from the floor with wood glue and 1-1/4-inch screws.
- Cut 1.5-inch square notches into all four corners of the lower shelf panel so it fits around the legs, then set the shelf onto the perimeter cleats.
- Fasten the edge-glued tabletop using figure-eight fasteners or slotted apron holes to accommodate seasonal wood movement.
A Nightstand Assembly Guide for Four Stages
The build proceeds in four stages: leg assemblies, perimeter aprons, shelf installation, and tabletop mounting. Sticking to this order keeps open space inside the frame while you drive fasteners.
Begin with four 23.25-inch legs cut from 2x2 stock, which measures 1.5 inches by 1.5 inches. Lay two legs flat on your bench, place a 12.5-inch side apron flush with their top ends, and secure it using pocket screws and wood glue. Repeat this process for the opposite side to complete two matching side assemblies.
Stand both sub-assemblies upright on your workbench. Connect them with two 17-inch aprons across the front and back. The 17-inch apron length plus the combined 3-inch thickness of the two legs establishes a frame base measuring 20 inches wide by 15.5 inches deep, leaving a clean 1-inch overhang beneath a 22-inch by 17.5-inch top.
Mark the leg posts 11 inches above the floor. Fasten four 3/4-inch by 3/4-inch support cleats around the inside perimeter—two 14-inch cleats across the front and rear, and two 11-inch cleats along the sides—using glue and 1-1/4-inch wood screws to support all four edges of the lower shelf.
Pocket Hole Joinery and Frame Alignment
Match your pocket screw length to your lumber thickness. When joining 3/4-inch aprons to the legs, drill pocket holes set for 3/4-inch stock and drive 1-1/4-inch pocket screws. If you build the frame from 1.5-inch dimensional stock, use 2.5-inch screws to ensure firm thread penetration into the leg posts.
Spread a thin layer of wood glue across the mating end grain before driving fasteners. End grain absorbs moisture quickly, so an even coat helps seal the joint and form a lasting bond.
TimberTinker lets you assign joinery per part, supporting pocket screws, dowels, and dados. The app pairs every joint directly with its cut list entry, showing which board faces receive pocket holes before you carry lumber to the workbench.
Clamp a locking face clamp across the joint while driving each screw. The angled trajectory of a pocket screw can push an apron out of alignment if you omit clamping pressure.
Shelf Notching and Tabletop Expansion
Lower shelves inside four-post frames require precise clearance cuts. Cut a 20-inch by 15.5-inch panel for the lower shelf, then cut 1.5-inch by 1.5-inch notches into all four corners. These corner cutouts allow the shelf to wrap around the interior faces of the 2x2 legs and rest flat across the perimeter cleats.
Prepare the tabletop panel by jointing the edges of five 1x4 boards cut to 23 inches long. Arrange the boards for appearance, apply wood glue along each jointed edge, and pull the boards together with parallel clamps placed alternately above and below the panel. Alternating clamp positions balances pressure across the surface, preventing the glued panel from bowing while it cures. Once dry, trim the panel to its finished 22-inch by 17.5-inch dimensions.
Solid lumber expands and contracts across its grain as humidity changes through the year. Never pocket-screw an edge-glued solid top directly to the aprons. Fasten the top using steel figure-eight fasteners or slotted apron holes with pan-head screws, allowing the wood to slide slightly without splitting.
Align the tabletop with an even 1-inch overhang on all four sides. Wipe away glue squeeze-out with a damp rag after 20 minutes, before dried beads harden against the wood grain.
Verification and Squaring Checks
Squaring must occur before the apron glue cures. Measure diagonally from corner to corner across the top of the frame, then measure the opposite diagonal. If the two measurements differ, adjust clamp pressure along the longer diagonal until both readings match.
Checking clearance saves time. A compact drill needs roughly 5 inches of operating clearance, so securing the shelf cleats before closing the top prevents awkward angles.
The finished nightstand measures 22 inches wide, 17.5 inches deep, and 24 inches tall. Checking each sub-assembly against these target dimensions prevents errors early in the process.
Export your project plan as a clean PDF from TimberTinker before heading into the shop. Having printable dimensions and cut lists keeps your bench work orderly.
Building a stable nightstand frame relies on squaring your joints early and installing interior parts before the top closes off access. Following a four-stage progression through legs, aprons, perimeter shelf cleats, and tabletop fasteners protects drill clearance while keeping joints clean. TimberTinker provides 3D exploded views and cut layouts so you can confirm every measurement before you begin cutting lumber in the shop.
Questions
What is the correct assembly order for building a solid-wood nightstand frame?
Assemble the two side leg pairs first, connect them with the front and back aprons, check diagonals for square while the glue is wet, mount the perimeter shelf cleats and notched lower shelf, and secure the tabletop last. This sequence preserves drill clearance inside the frame.
How should I attach an edge-glued solid wood top to prevent cracking?
Use slotted apron holes or figure-eight fasteners rather than rigid pocket screws. Solid wood expands and contracts across its grain with seasonal humidity changes, and slotted fasteners allow movement without splitting the tabletop.

Try TimberTinker for yourself.
Get TimberTinkerWant more like this? Leave your email and I'll send the good stuff only.