How to Use a Cut List Optimizer for Workshop Projects
Learn how a cut list optimizer turns cut schedules into visual cutting diagrams while factoring in blade kerf, sheet trim margins, and grain direction.
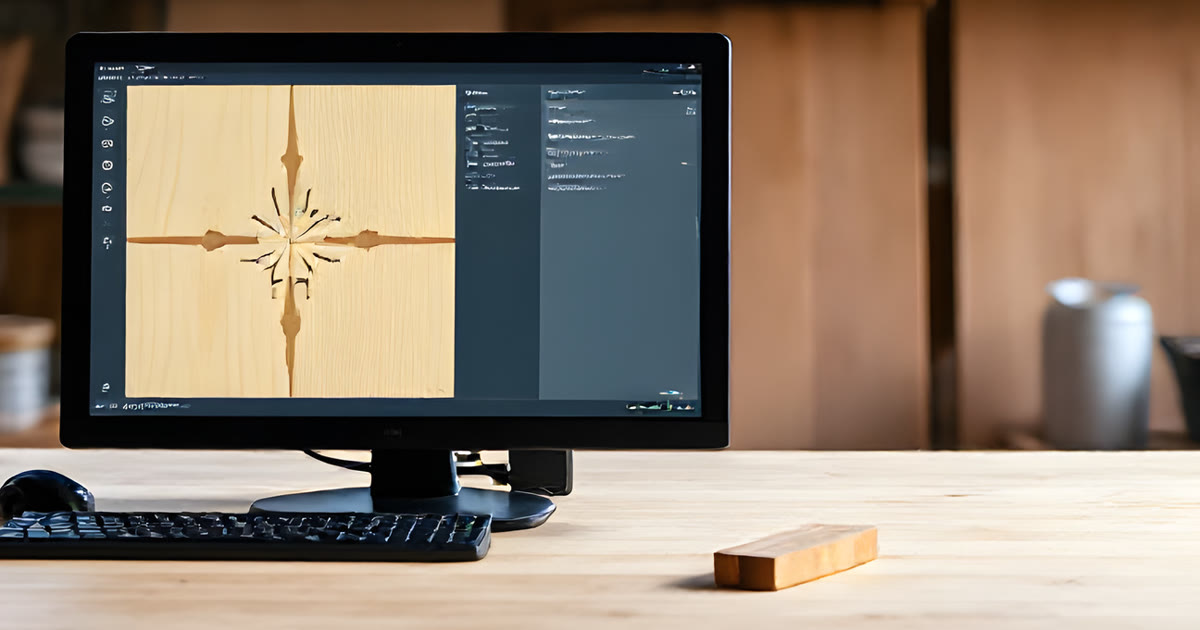
A cut list optimizer is software that converts a project part schedule into visual cutting diagrams on raw sheet goods and dimensional lumber. Rather than handing you a basic tabular parts list with simple lengths and widths, the optimizer generates a visual cut map showing cut lines, blade paths, and usable drop pieces across standard 48-by-96-inch sheets.
In a home workshop, these layout maps keep you from hacking expensive plywood panels into unusable scrap. Manual layout math frequently breaks down because woodworkers forget cumulative saw blade kerf or misjudge panel breakdown sequences. Five 19-inch cabinet sides will not fit on a single 96-inch panel once you factor in saw passes. An optimization engine prevents that mistake by plotting the rip and crosscut sequence before you make your first cut on the table saw.
Step by step
- List the exact finished dimensions for every component in your project.
- Set sheet trim margins between 1/4 inch and 1/2 inch to square rough factory edges before panel breakdown.
- Enter the saw blade kerf width, using 1/8 inch for standard blades or 3/32 inch for thin-kerf blades.
- Add rough-cut length allowances to solid hardwood boards for jointing and planing.
- Lock the grain direction on visible faces like drawer fronts and tabletops to prevent cross-grain rotation.
- Generate the cutting diagrams, checking primary rip cuts to break down full sheets safely.
- Review the layout to verify that leftover material forms a large, usable rectangle.
How a Cut List Optimizer Calculates Blade Kerf and Dimensions
Saw blade kerf represents one of the largest hidden sources of waste in panel breakdown. A standard 10-inch table saw blade removes 1/8 inch (0.125 inches) of wood with every pass, while a thin-kerf blade removes 3/32 inch (0.094 inches). Across six through-cuts on a sheet of plywood, a 1/8-inch blade turns 3/4 inch of solid wood into dust. If your cut planning treats cut lines as zero-thickness boundaries, the final piece will measure short by over half an inch.
Nominal lumber dimensions introduce a second source of sizing errors in solid stock. A standard 2x4 measures 1.5 inches by 3.5 inches, and a 1x4 measures 0.75 inches by 3.5 inches. Dedicated woodworking tools like TimberTinker model components using actual dressed lumber sizes and standard sheet thicknesses. Entering true finished thicknesses prevents assembly errors when joining face frames to plywood carcasses.
Sheet Nesting and Grain Direction Alignment
Sheet nesting arranges panels across 4x8-foot sheet goods to maximize the size of remaining scrap. An optimization engine aligns parts along common cut lines, reducing the total passes needed with a track saw. Grouping cuts this way produces large rectangular drop panels instead of skinny strips that end up in the trash bin.
Nesting algorithms also need rules for grain orientation. Drawer faces, cabinet doors, and desk tops require grain to run along their length. If an algorithm rotates a drawer face ninety degrees to save two inches of plywood, the finished drawer will clash with adjacent panels. Setting grain direction locks the orientation for oak or walnut surfaces while allowing interior parts to rotate freely.
Accounting for Joinery Allowances
A cut plan must reflect joinery dimensions rather than exterior cabinet measurements. A 30-inch cabinet shelf set into 3/8-inch dados on both side panels must be cut to 30.75 inches to seat fully inside the grooves. Pocket screw butt joints use flush part lengths, whereas mortise and tenon joints require added tenon length on rails.
Assigning joinery details directly to digital parts carries those hidden dimensions into the cutting layout. In TimberTinker, assigning dados, rabbets, or mortise and tenon joints updates board lengths automatically. Reviewing an exploded view shows how the pieces interlock, confirming your cut dimensions before you mill stock.
Balancing Board Feet and Sheet Yields
Sheet goods and solid hardwood require different cost and cutting calculations. Plywood panels sell by the full 4x8 sheet, so the optimizer focuses on two-dimensional area yield to prevent buying an extra panel for one small part. Hardwoods like cherry and walnut sell by the board foot, which equals a volume of 144 cubic inches. A linear cut algorithm packs hardwood boards along their length, grouping parts of matching thickness to minimize waste during milling.
An effective cut list optimizer balances both material types in a single plan. Software like TimberTinker calculates sheet quantities alongside board footage, letting you test different part layouts before purchasing materials. Checking your yields ahead of time protects your project budget and prevents mid-build trips to the lumberyard.
Workshop efficiency depends on measuring final part sizes, calculating saw kerf, and nesting sheet components before turning on the saw. Planning your primary rip cuts across the sheet keeps panel breakdown safe and preserves usable scrap for your next project. When software handles sheet nesting and joinery allowances, you spend less time re-cutting parts and more time assembling square, solid furniture.
Questions
How does a cut list optimizer minimize woodworking waste?
A cut list optimizer arranges finished part dimensions onto standard sheet goods and dimensional lumber. It packs rectangular cuts tightly to reduce empty space and keeps off-cuts in larger, usable sizes instead of thin scraps.
Why does grain direction matter during sheet nesting?
Nesting engines can rotate parts to save space, but wood grain must follow visual and structural requirements. Locking grain direction prevents drawer fronts and tabletops from showing misaligned patterns across adjacent components.

Try TimberTinker for yourself.
Get TimberTinkerWant more like this? Leave your email and I'll send the good stuff only.